How to run Pi-Hole on QNAP NAS?
The containers are coming back to our favor, this time Docker.
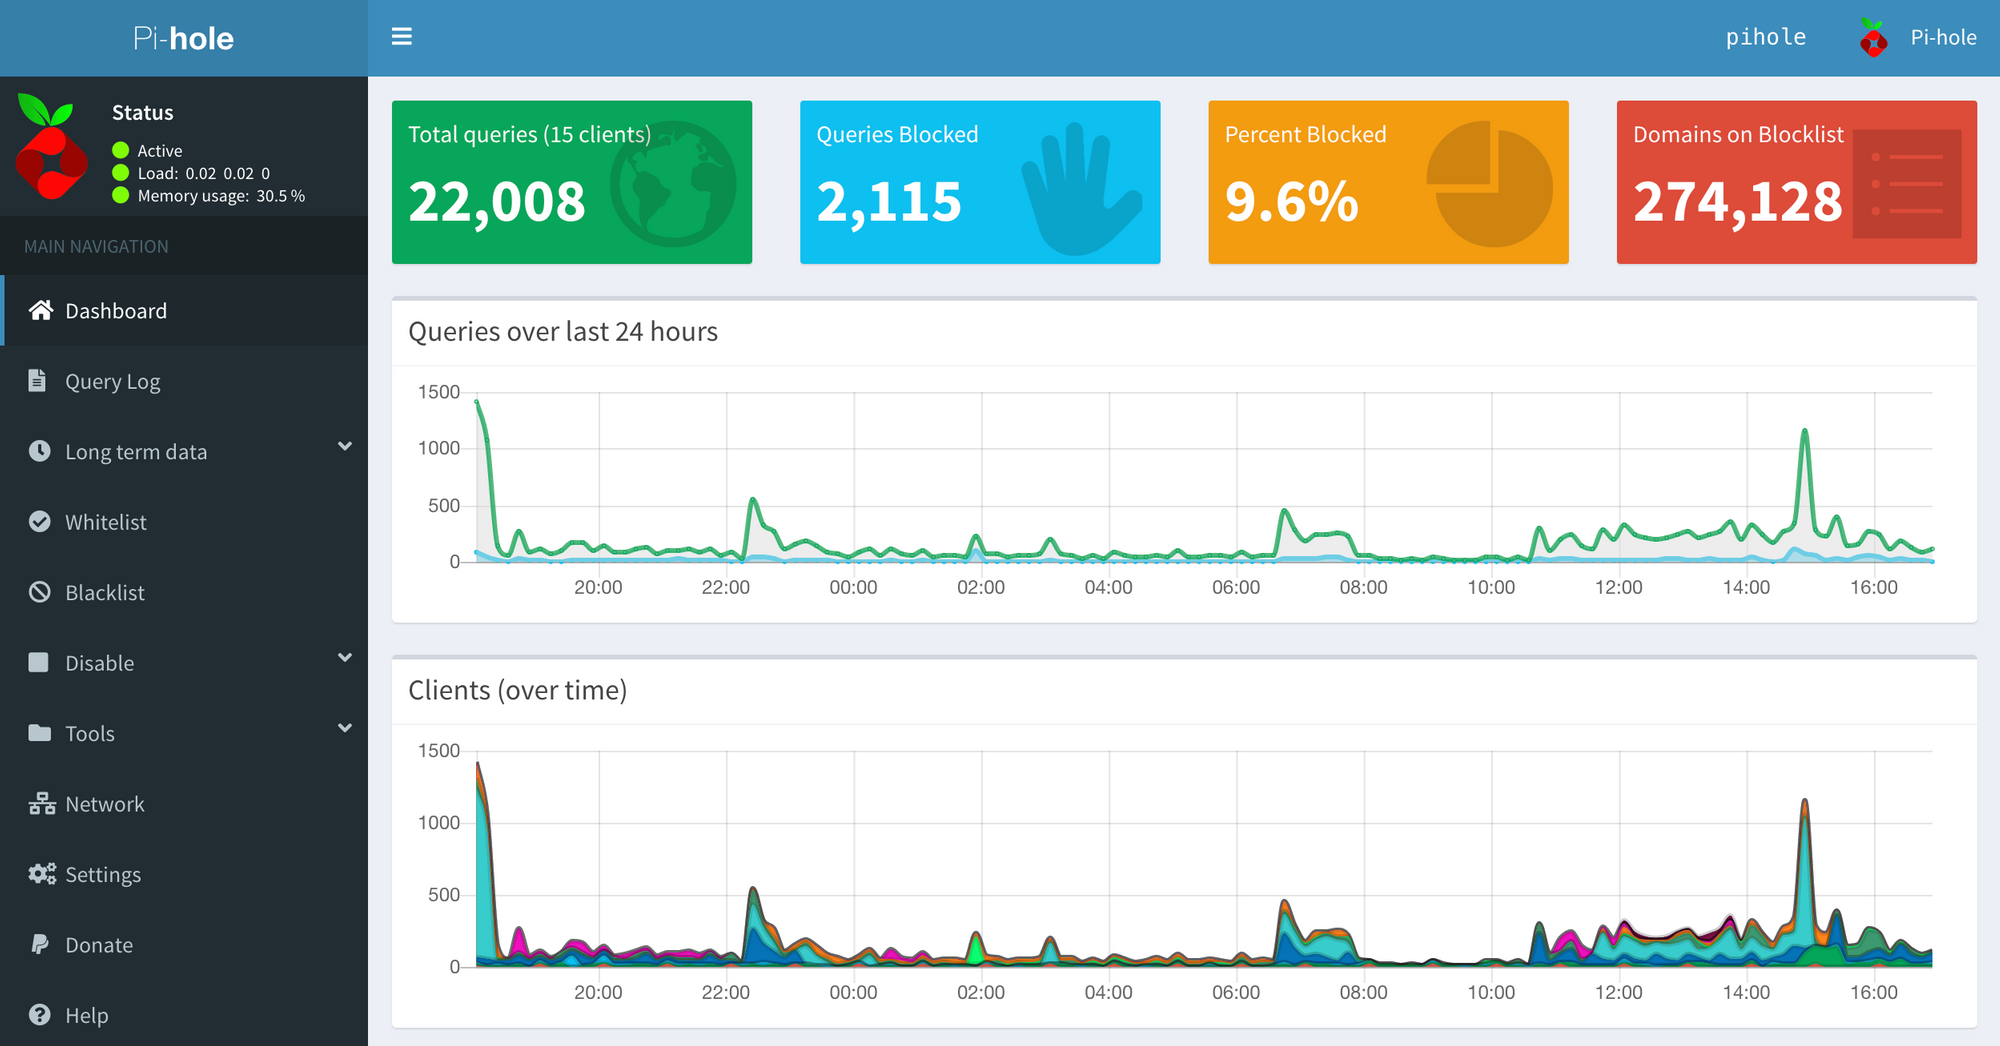
Pi-hole is a system that blocks the advertisements. It is a DNS server, Pi-hole return 127.0.0.1 for domains from which ads are served, so that they are not loaded by the browser but also applications on the phone, etc :)
So get to work. Of course we need to have Container Station installed and one virtual switch configured. Our container will not be behind the nat, we will set a static address from our LAN. This is required because DNS servers work on port 53/udp, while such a service already works on QNAP - for example, for proper others containers operation.
In my example the container will have the address 192.168.0.220/24.
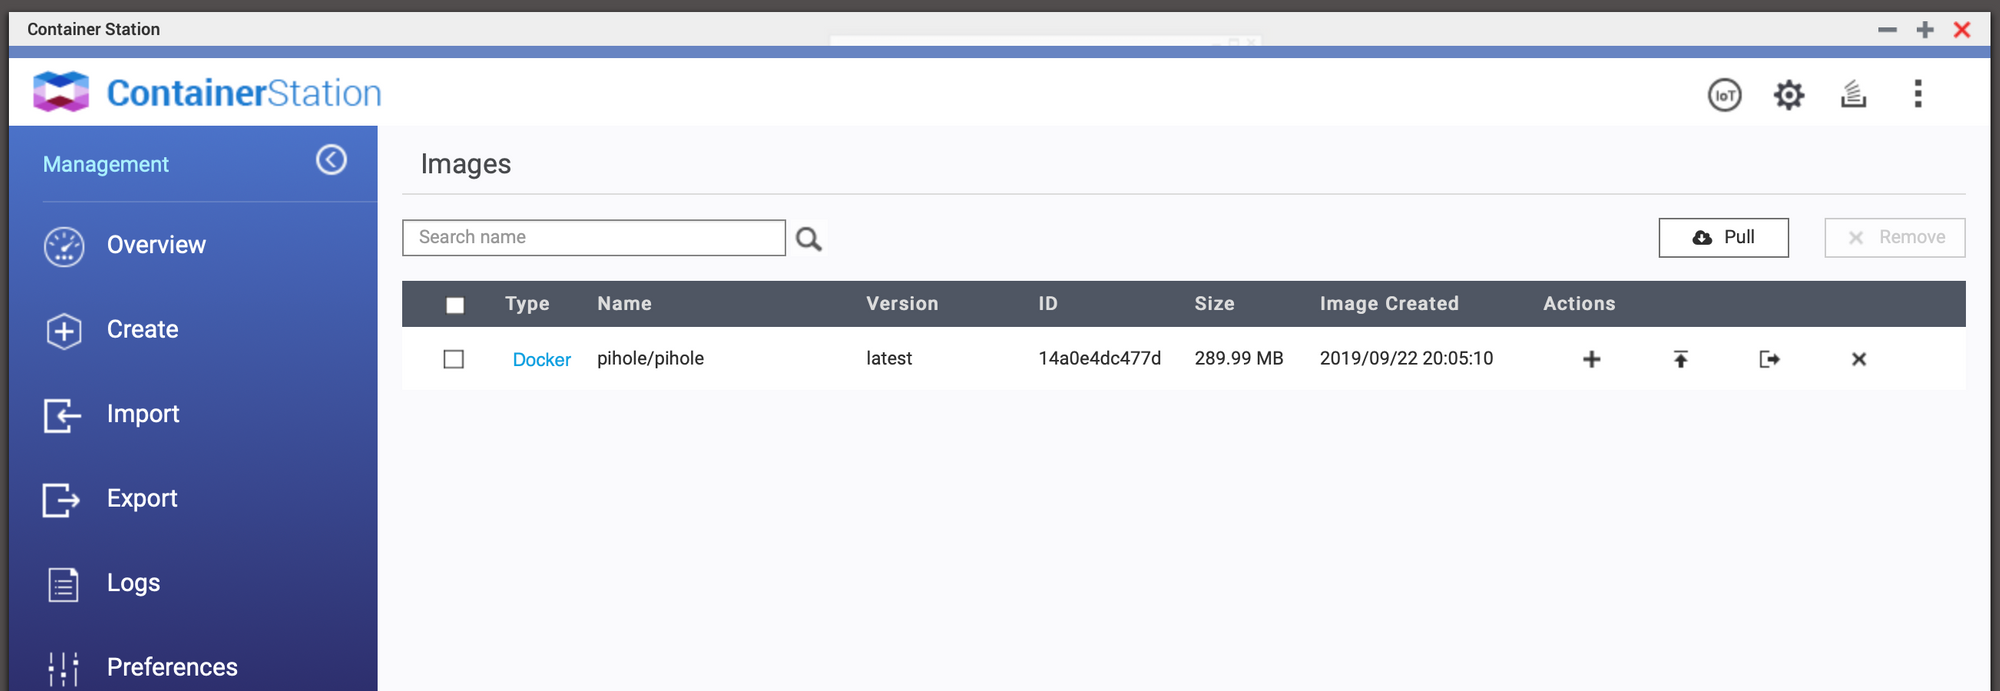
We need to download the image of the container, so we go to Images section
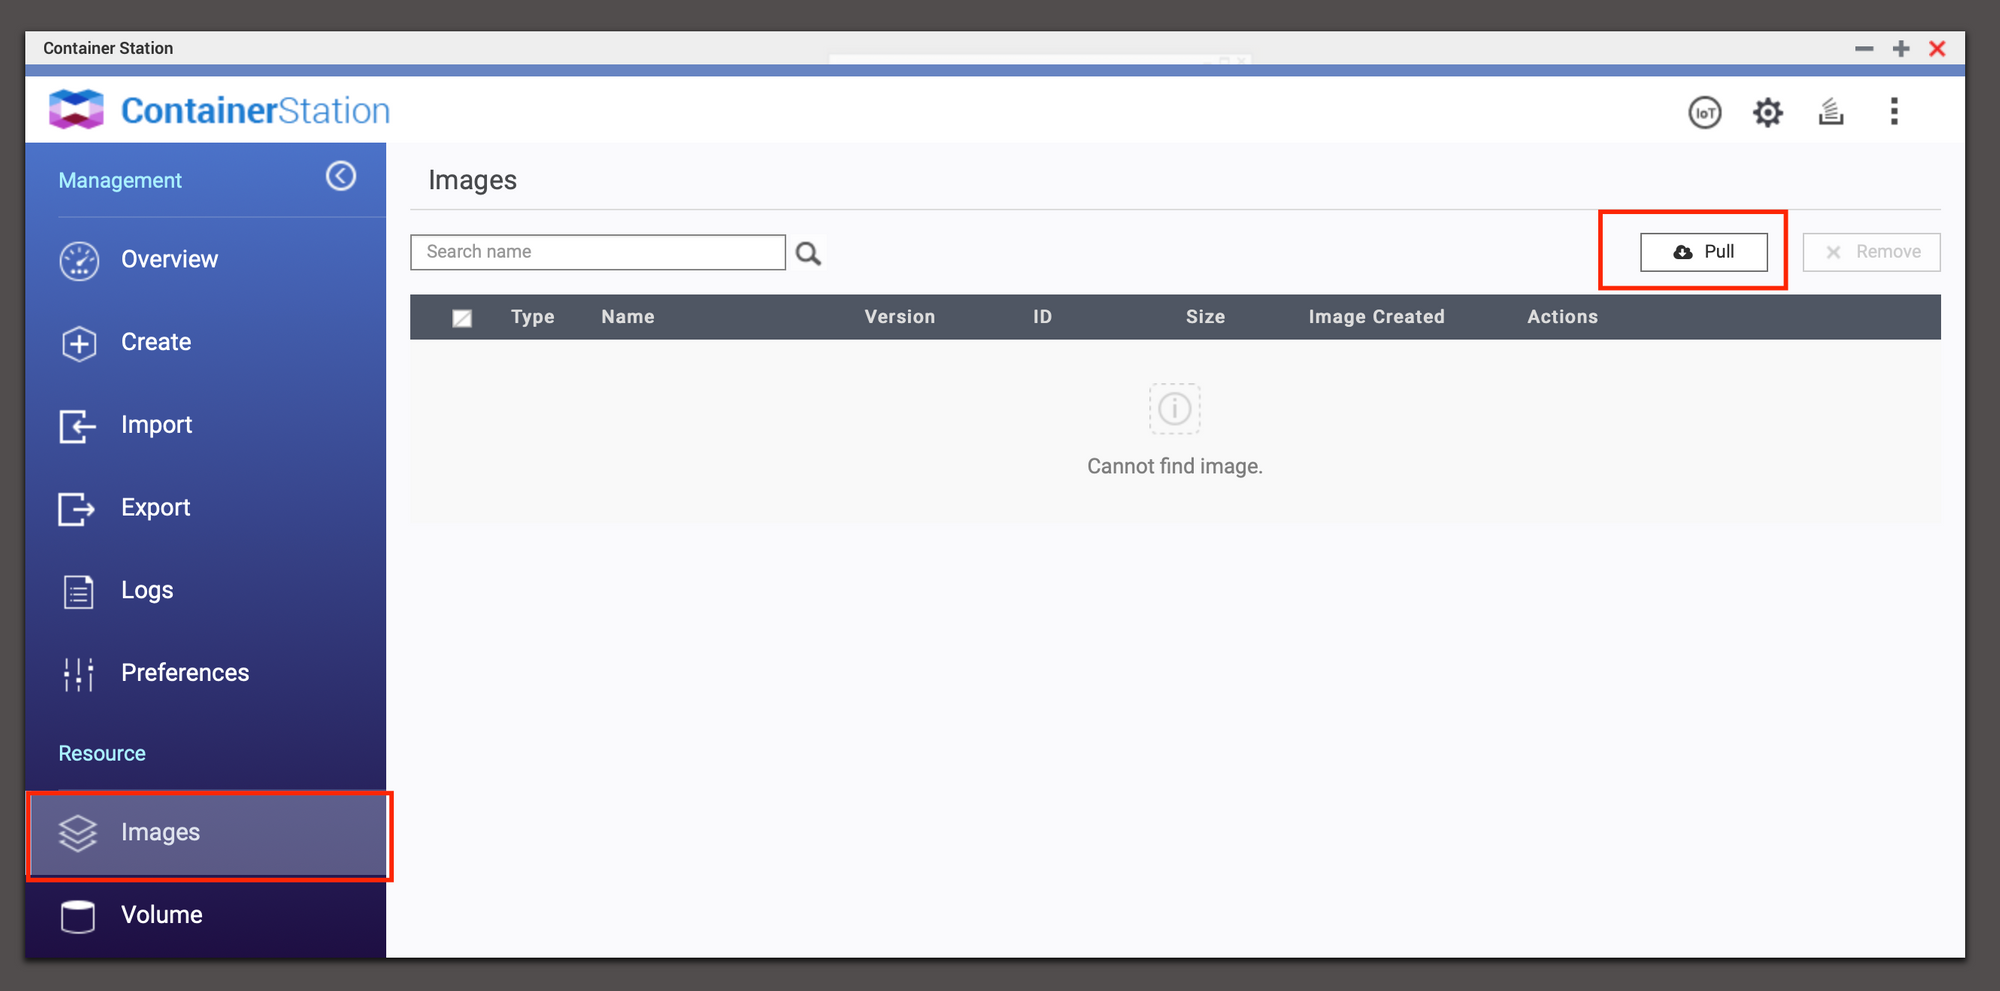
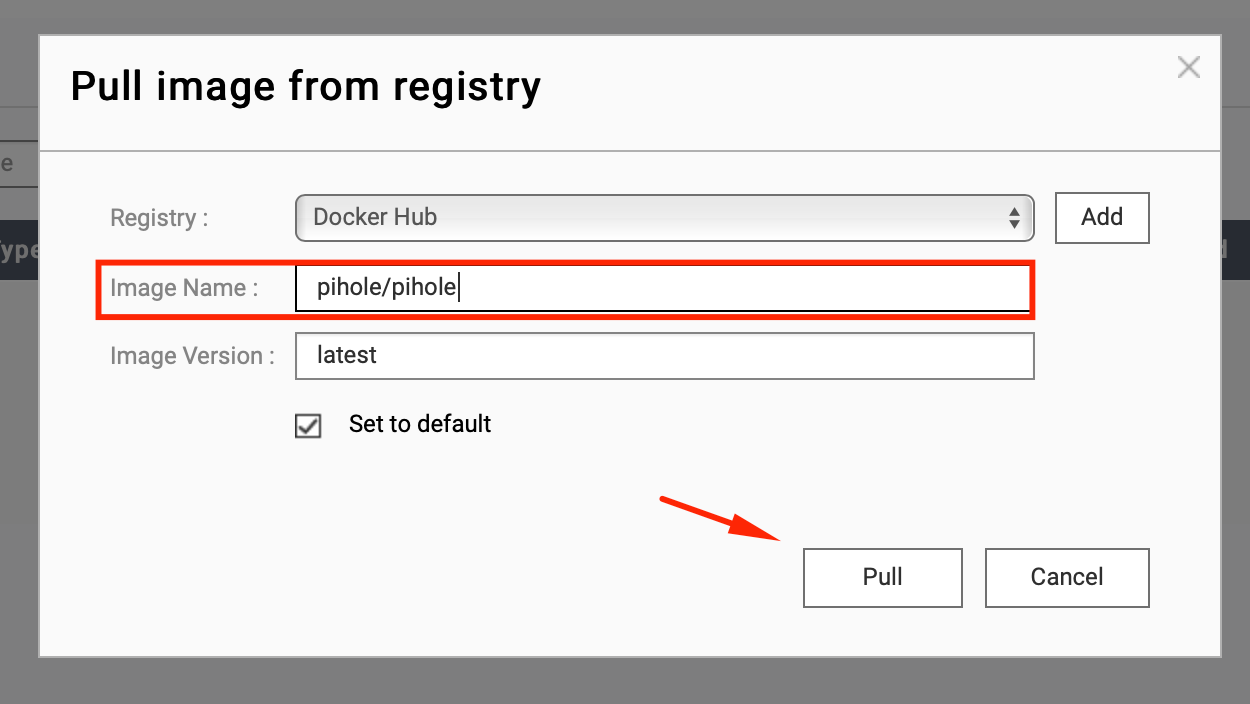
Click Pull and in a new window in the Image name field, enter the pihole/pihole.
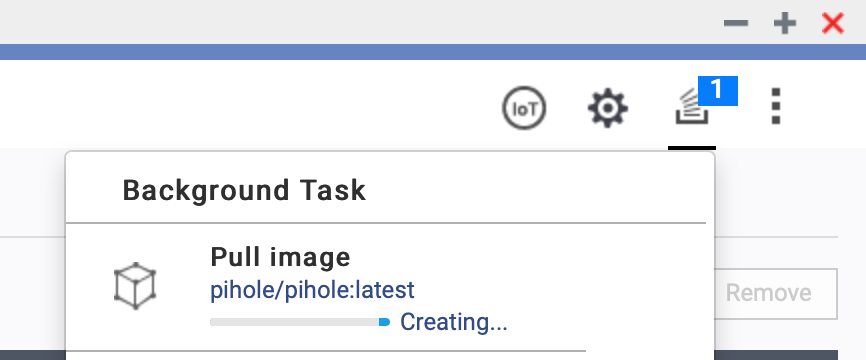
When the download is complete, the image will be shown in the list.
We move on to creating a container, we enter pihole in the search form.
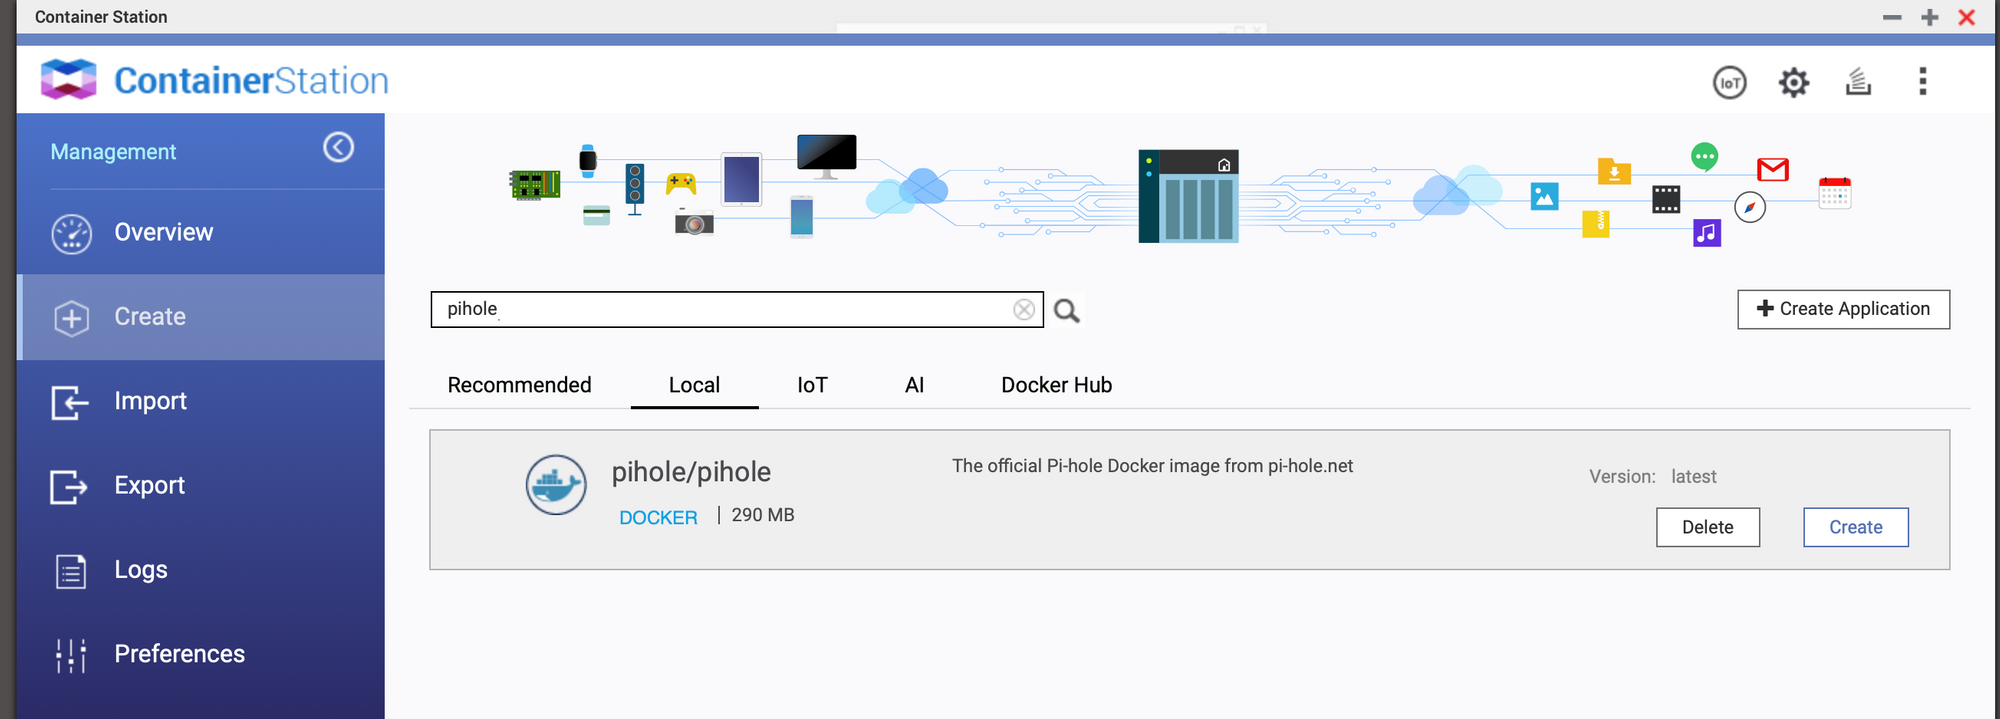
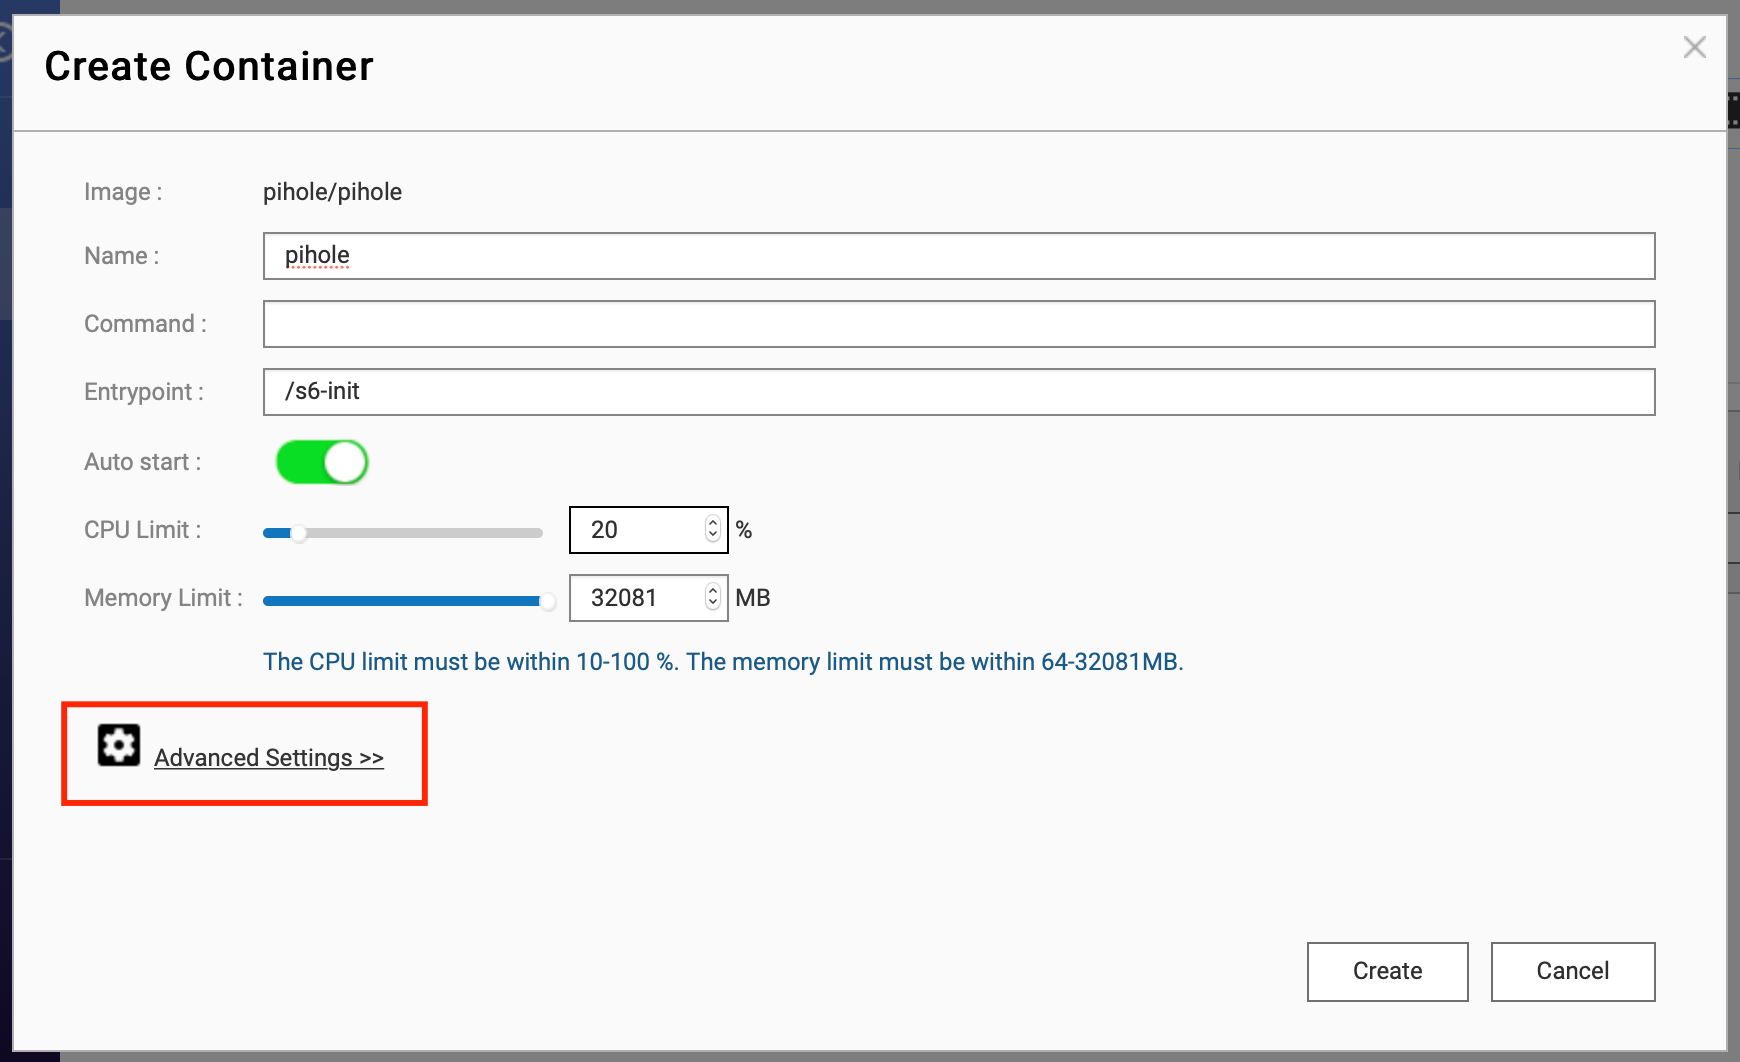
Next click Create. You will see the configuration window of the container and we can adjust the CPU or max. for RAM, here you can easily add max. 1GB memory.
Go to advanced settings.
Next we move to environmental and we have to add two variables.
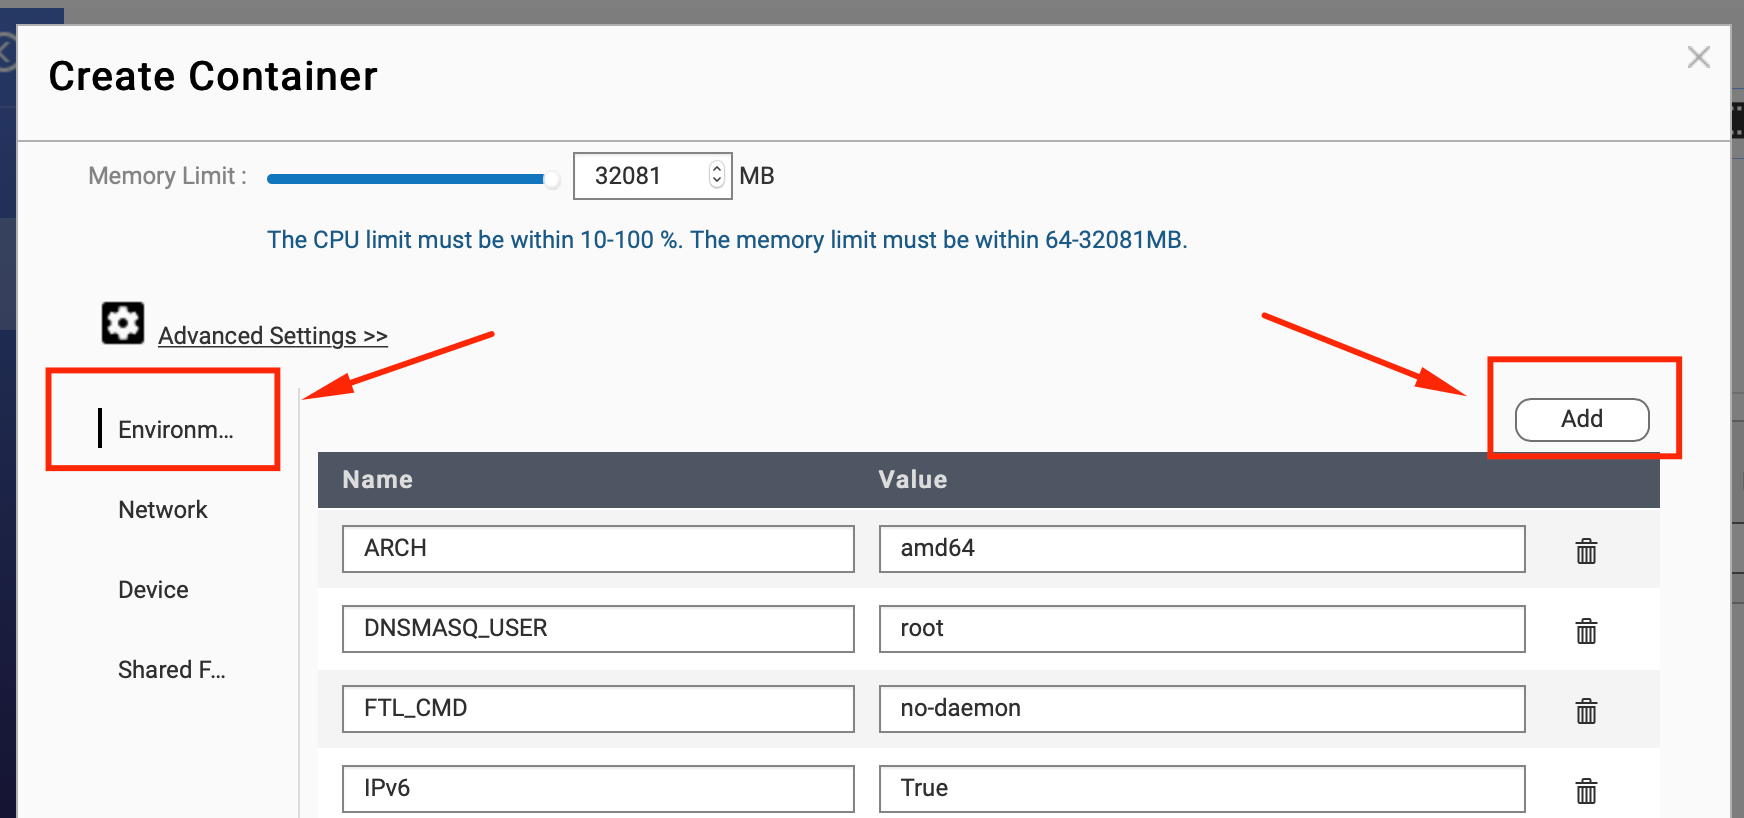
We add DNS1 and DNS2 variables with the IP addresses of our DNS servers.

The next step is the Network section.
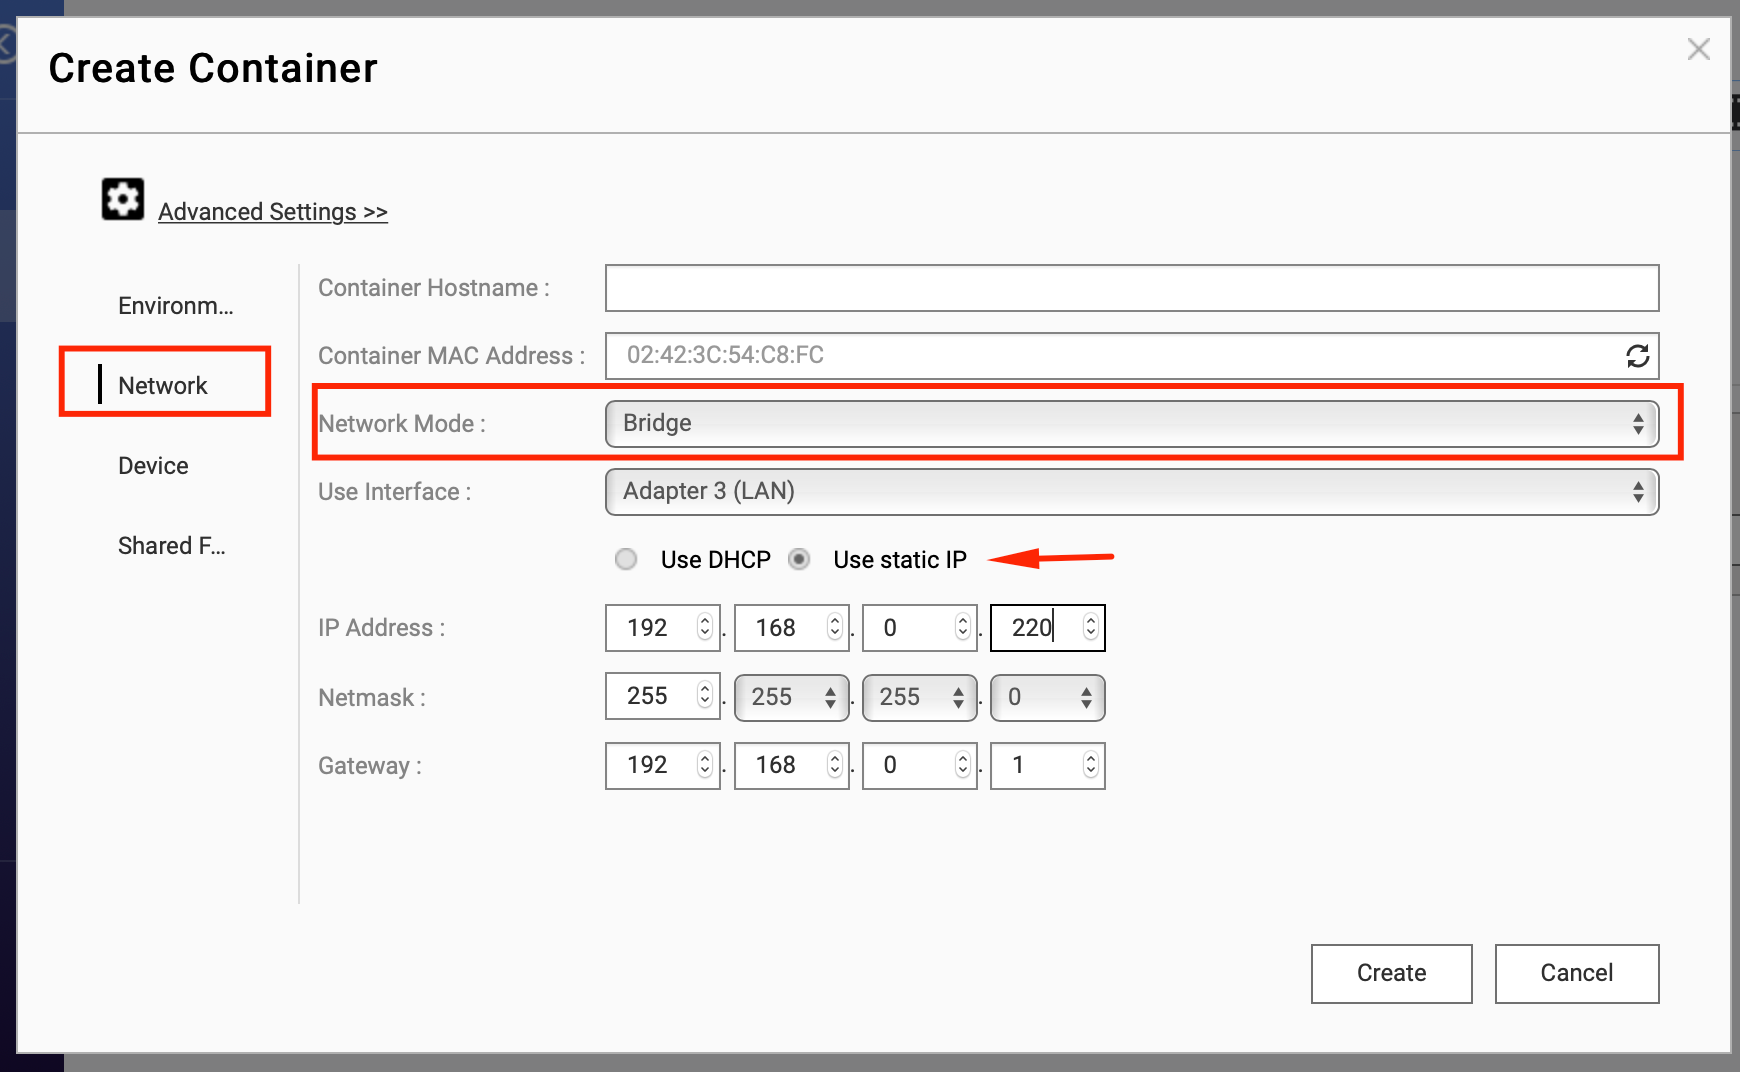
We change the mode to Bridge, select our virtual switch and give a static IP address for the container.
Click Create and wait a few seconds.
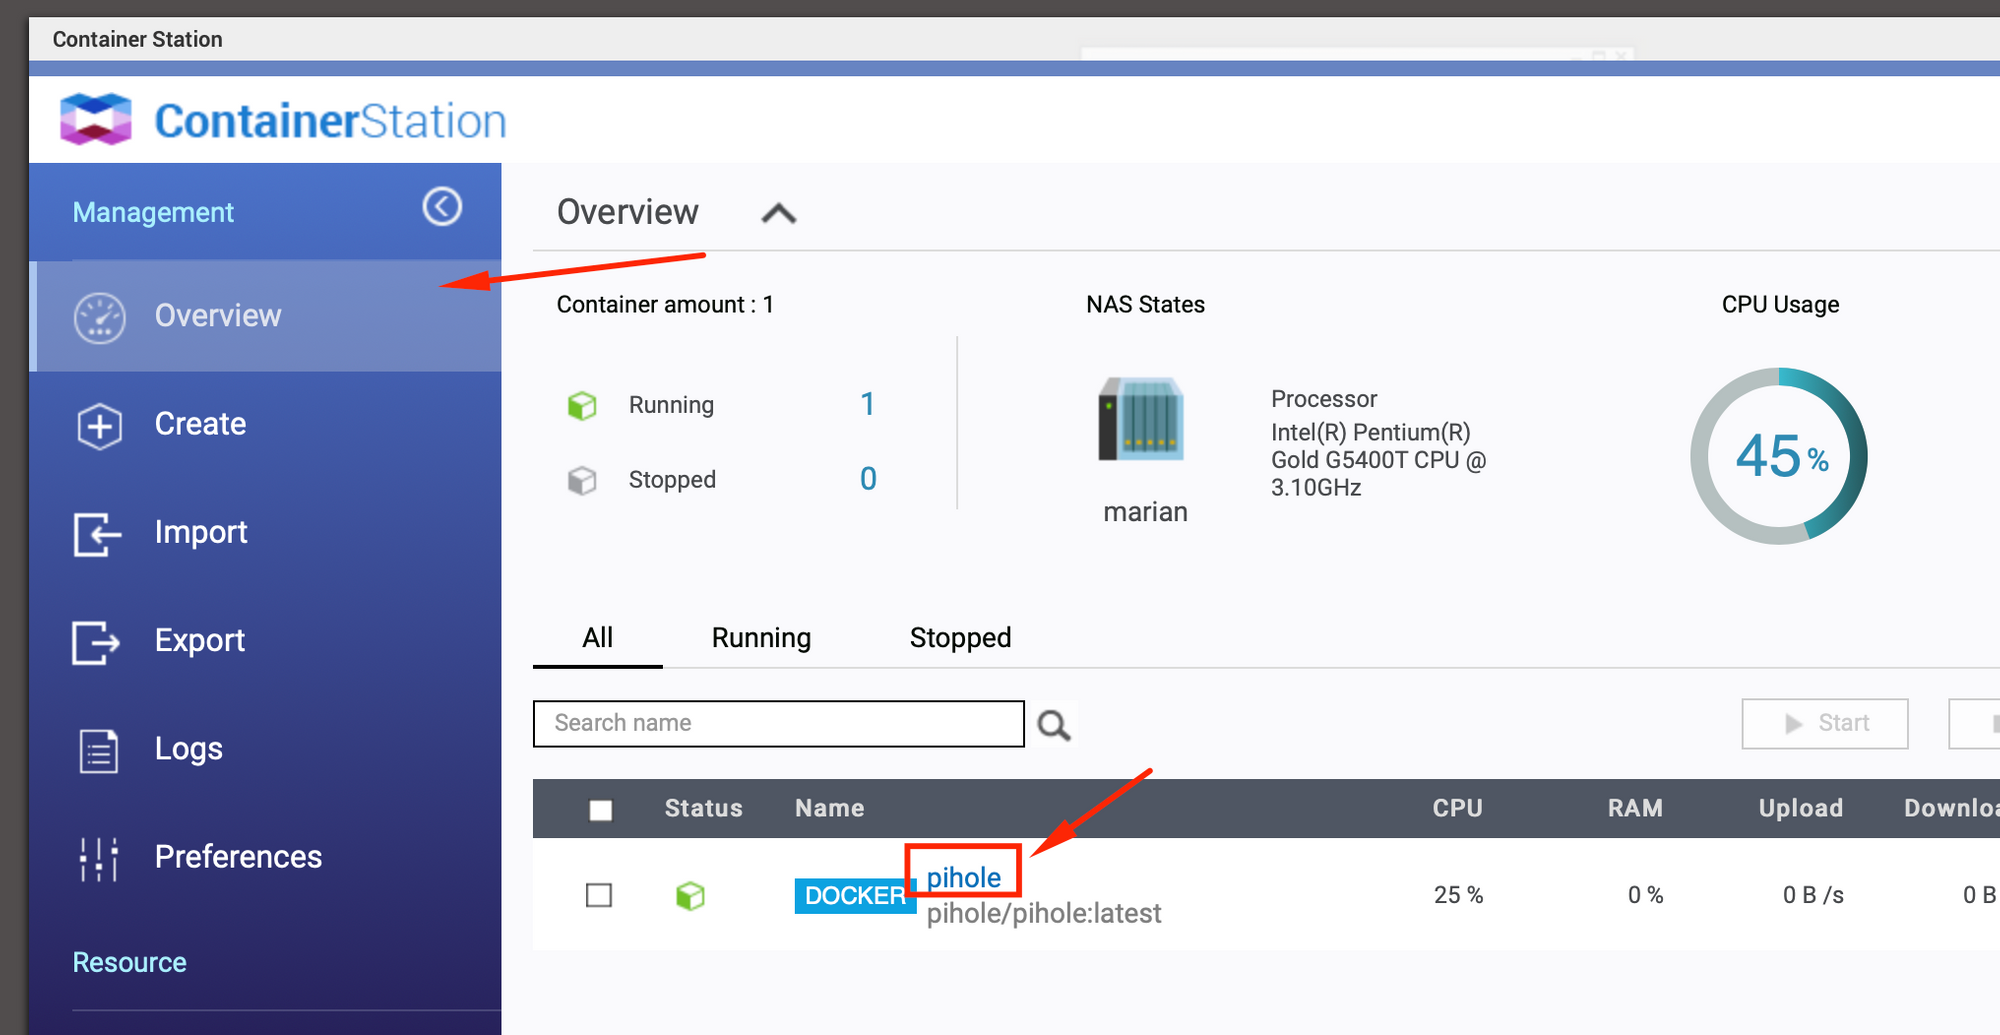
Then we have to go to our pihole console. In the list of containers we click on the name of our container.
Now in the console we have to find the password - it is random and it is required to log in and configure our pihole.

We log on to the website http://192.168.0.220/admin.
